My FPV Quadcopter Drone building tips and tricks list for beginners and enthusiasts.
Researching information on how to build a drone? Here is a list of many things I learned building my first FPV quadcopter drone that I wish I knew before I started – 48 tips so far. Hope it can help beginners in the same situation as I was in, or you can use it as a checklist if you already know your stuff. This list will be a living article with constant changes, I think. I will add new lines when I learn something new and correct if there are better ways to do stuff. I will probably shift around the ordering too and sort them into categories like building, soldering, charging, buying, fixing, etc.
Please let me know if you have other useful tips, tricks, ideas, and advice for everyone to enjoy. And of course, let me know if you mean I have written something wrong!
Previous post: The two new DJI Mavic 2s are finally officially released! What are the differences?
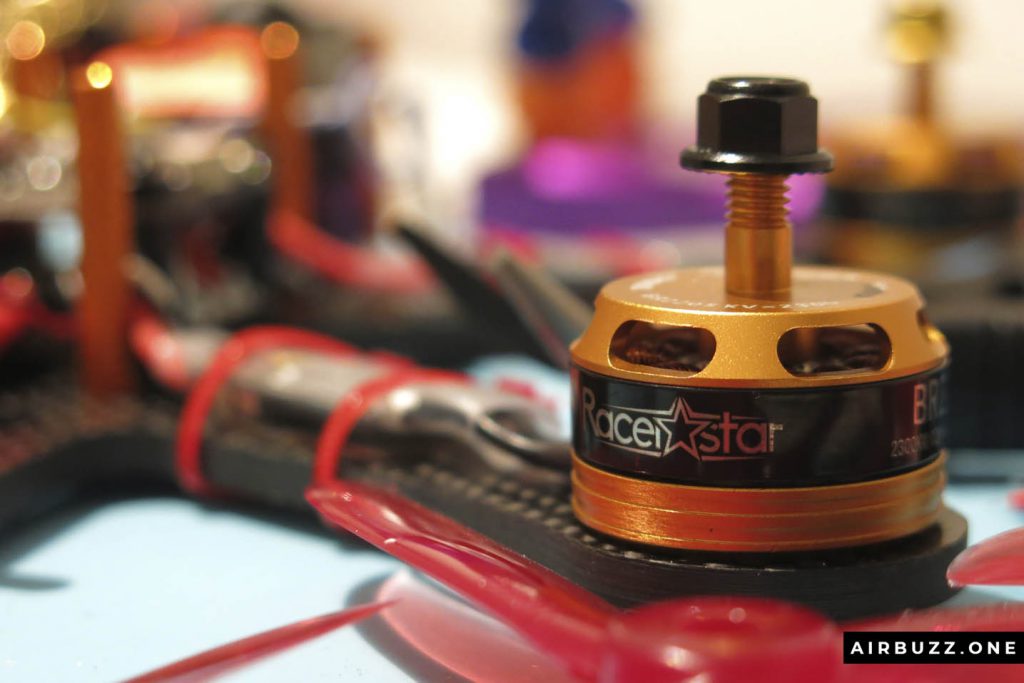
The list continues under my picture of one of my shiny, orange Racerstar motor on my current build project. 🙂 Read more about it in my first and second article in my drone building series.

FPV Drone building tips and tricks
- Build your first FPV drone from scratch and buy the components individually! You will learn a lot, even if the learning curve is steep.
- Don’t buy cheap, untested, unusual components. Buy stuff which is field tested and approved by the FPV community.
- Mount the PDB with the battery pads (+/-) facing backward.
- Buy a decent soldering station with accurate temperature settings. Temperatures up to 450°C degrees is often necessary. Don’t use cheap and old soldering irons on delicate electronic components.
- Soldering temperatures ABC: 300°C on smaller wires, 350°C for signal cables on ESC’s and to flight controller, 420-450°C for large connectors, power cables to ESC’s and PDB, XT60 etc.
- Buy proper soldering supplies like led free solder wire with 60/40 rosin core, desoldering bulb, desolder wick, flux paste, and tip cleaner.
- Practice soldering on some old wires or electrical appliances you will throw away! If you are new, never start directly with delicate drone parts.
- A good solder must be smooth, bright, shiny, clean and with concave fillet.
- In most cases, you need a 2 mm hex screwdriver to mount the small bolts.
- A plier for cutting cables comes in handy. A wire stripper too…
- To prevent screws and bolts to come loose: Use blue Loctite on screws between metal to metal!
- Double check that the screws for the motors are not too long and interfere with the motor while they turn, but not to short either.
- Use aluminum standoffs.
- Isolate electrical components from the conductive carbon frame. Build the stack with nylon screws to avoid contact. Don’t let exposed wires touch the carbon.
- Cut of connectors and solder straight to the board in most cases.
- Buy enough cables, strips, double-sided tape, shrink tubes, straps, etc. You will need a lot of it.
- Twist all power cables.
- Don’t throw longer pieces of cables you cut from components. You can use them on components that do not come with own cables like LED lights and receivers.
- Use light materials when building. The battery is, of course, necessary, but they are the heaviest component on the drone. Save weight by reducing the length of cables.
- Buy a radio that can be connected to a PC and get a simulator early! You will never get enough practice before taking it to the skies.
- Download Betaflight Configurator as a program from Github, do NOT use the Chrome applications for Betaflight and Cleanflight. They are faulty, old and doesn’t work.
- Are the motors in starting up with different speeds? Use Betaflight to configure the ESCs. Plug in USB and connect (no battery), In Motors drag up the Master Slider to the max, plug in the battery and listen to the drone play music, drag down the Master slide and listen to more music = ESCs are calibrated.
- Reverse the direction of the motors with BLHeliSuite software (if you have BLHeli protocol ESC’s), or switch two of the cables between motor and ESC.
- Begin asking questions on the newbie forum on for instance Quadcopterforum early. They respond respectfully to even stupid questions. Facebook groups tend to be not so friendly.
- ALWAYS check your crucial solderings connections (+/-) with a Multimeter before powering it on.
- Buy a smoke stopper to prevent damages the first time you connect the battery to the drone!
- You can test the sensor and update the firmware on the Flight Controller (FC) with a USB cable before you start soldering.
- Calibration of the level sensor on the FC is clever to do after it is mounted in the frame and stands on a level surface.
- You have to use the bootloader button or short the bootloader soldering points on the Flight Controller to be able to flash the firmware with Betaflight!
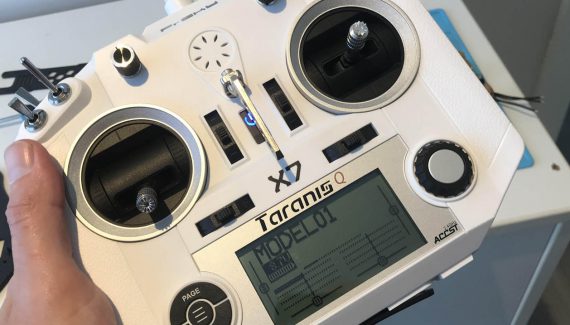
- When binding the receiver to the transmitter, in my case FrSky Xm+ and Taranis Q X7 you will have to press the bind button SIMULTANEOUSLY as you power up the drone with either battery or just USB power to the FC!
- The ESC’s needs good protection. A common way to protect them is to apply shrink wrap plastic around them, put a piece of an old propeller on top and use electrical tape or strips around. You can also 3D print protector pieces.
- Heat shrink components and exposed wires everywhere you can – try to avoid electrical tape whenever possible.
- Spend some time thinking about where cables go so it is easy to repair afterward. Try to cut wires as short as possible so cable loops don’t get loose.
- Use different colors of the front and back pairs of propellers. It makes it easier to know the orientation of the drone if you are flying without goggles. Or a different color on the front right prop for instance.
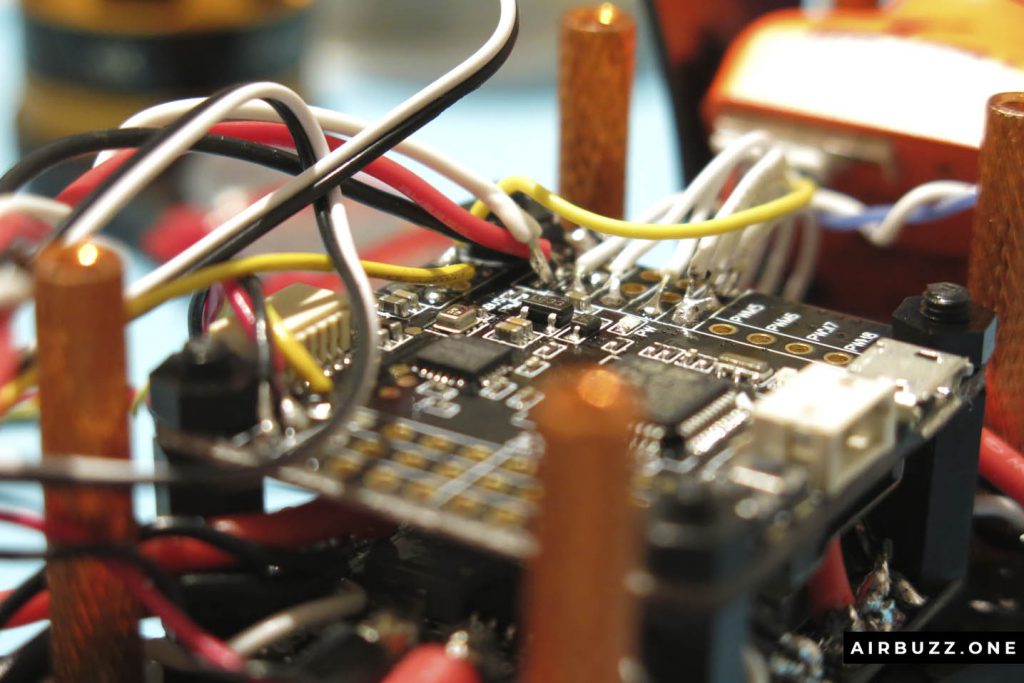
- The red cable is voltage, power, and soldered to + pads, the black is ground and soldered to – (minus). Signal cables can have different colors but usually white or yellow.
- Never bench test the drone with the video antenna on! It gets really hot and can easily destroy the vTX.
- Sponge landing pads with double-sided tape are optional but may come in handy.
- Mount the video antenna as far away from current carrying cables as possible and not be blocked by carbon fiber, for instance, mounted inside the frame.
- Make sure that the Balance Lead Safety cable on the battery (you know the extra cable on the battery used when you charge, but not used on the drone) is firmly attached or twisted around the main cable. Or use a protective clip.
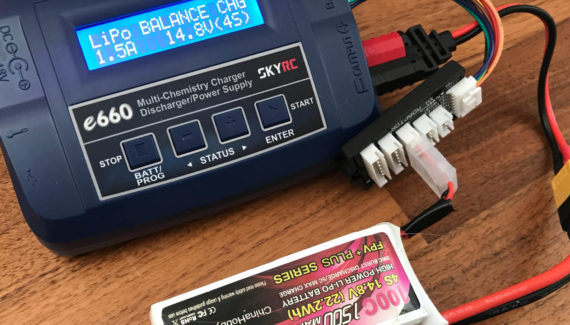
- Charging the LiPo battery is its own science. Reading about all the dangers I almost didn’t dare to charge my first battery – here is a good article. Read this if you get a Cell Error.
- Buy a proper, well tested LiPo charger that can discharge as well.
- Charge LiPos when you have the time to watch it to prevent fires. You might want to have it in a protective bag, but then you can’t really see if it starts to expand or smoke.
- Discharge LiPos that are 100% full if they are not used in 2-3 days down to 30%.
- Hot glue board-soldered connections when you are certain that they work for extra protection to prevent the wires to come loose and bend.
- Waterproofing electronics: There are silicone coatings available to waterproof the drone… I have not tried it yet.
- When function testing the drone in the field for the first time without FPV goggles, keep the cover on the camera lens, remove the action camera and remove the vTX antenna. These are items that are easily destroyed.
- Buy enough spare parts!
- Build a drone without all the FPV camera and antenna gears if you want to control and fly the drone first.
Anything else to add? Write it below.


6 Comments
hello sir,
I have attended a workshop on how to build a quadcopter and there we were provided with a kit from which we made a working machine from the scratch. I want to build one more on my own as there we made it in a team, however I am not able to get good quality propellers offline. Can you recommend which one should I take and from where?
Hi! Sounds like a cool workshop! Building drones are awesome. I have been told that DALPROP is the props to go for. I have ordered a bunch of them in different colors.. perhaps to many. I discovered that one of the props was faulty in one end, but I haven’t complained.
I appreciate the extensive tips list on drone building including the mention of optional items that may prove handy. Nothing like being all excited to begin the new project and discovering a knowledge gap and the ensuing setbacks. I love details and you provided it here.
Thanks, Tina. There is so much to learn when building the first FVPV drone. I will continue to fill in this list when I learn new stuff. Andreas
I appreciate the extensive tips listed on drone building. That you included optional items which may prove handy was an added benefit for me. Imagine starting the new project and discovering a knowledge gap and the ensuing setbacks. I love the detail and you provided it here.
I like the reference to the newbie forum Quadcopterforum.
Thanks for the comment. 🙂 Yes I’m over excited by my new hobby. Andreas