I’m upgrading my quad with a cool new Mavic Pro skin – hot or not? Here is my Decalgirl review!
It was time to add some new colors to my good old DJI Mavic Pro. I did it mostly for testing the quality of these decals and a little bit just for fun. I love the fact that I can personalize my Mavic so it doesn’t look like everybody else but I haven’t decided if these stickers are silly, tacky or just awesome yet. Read my review here and conclusion at the bottom.
I realize that adding these stickers will not in any way improve how the drone works or preserve it in any way.
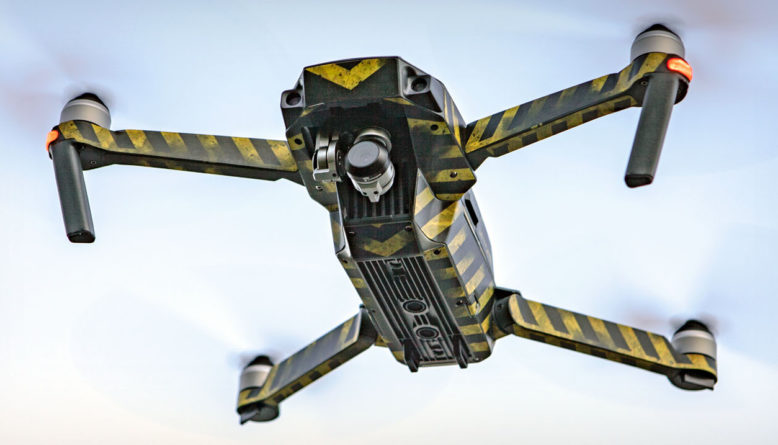
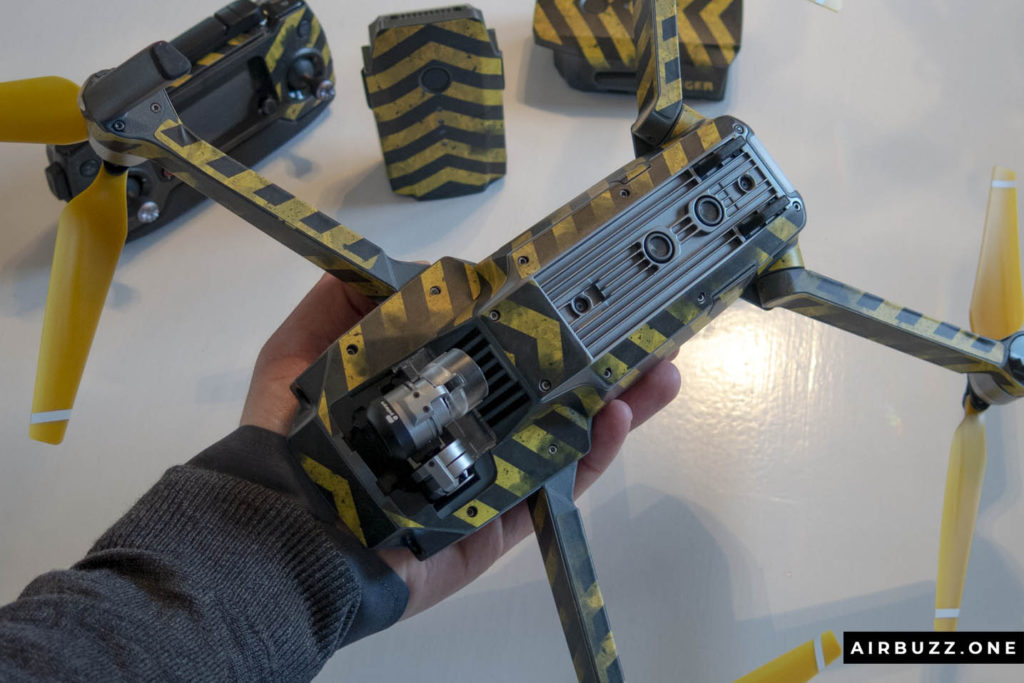
I did a fair bit of research and visited Decalgirl, who also sell their DJI Mavic Pro decals on Amazon, and browsed through all the different looks. I chose the one called EVAC since I thought it looked pretty darn good. The yellow and black striped skin with danger signs and worn look reflects my passion for post-apocalyptic stuff…
Other cool skins are Dystopia, The Baron, Starkiller, V08 Starfighter, Solar Storm, Venom, Solid state yellow, Solid state red, Rescue and many more.
Anyway…
The drone skins are not very expensive and I bought a pack with two extra battery decals since I have the Fly more drone combo with more batteries.
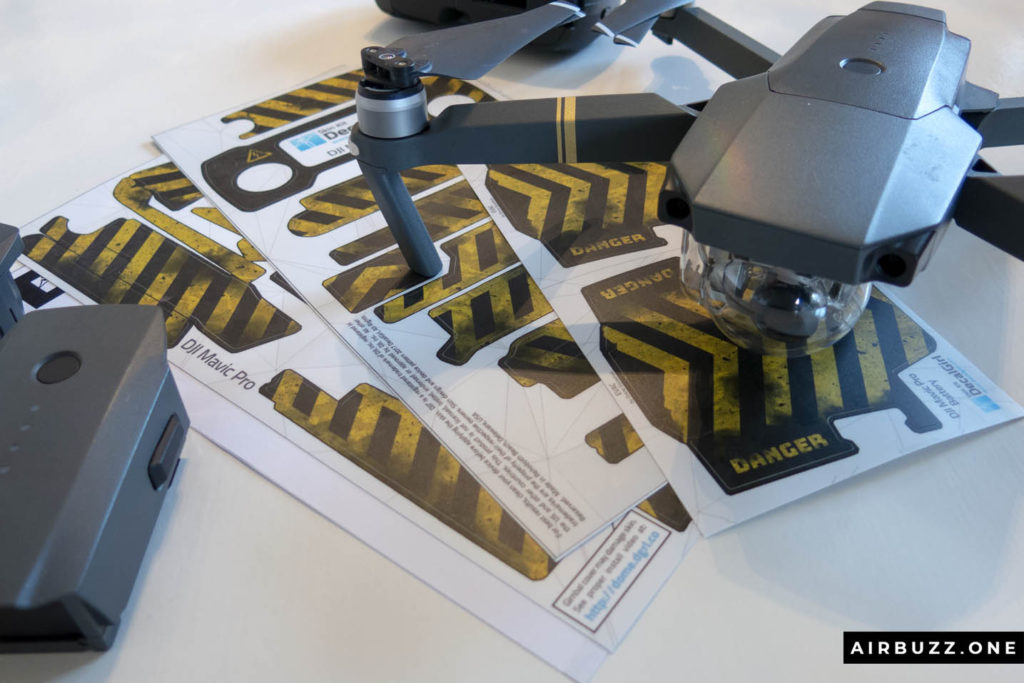
The package came with three sheets of decals on thin and lightweight vinyl. One sheet for the quad body and the first battery, the second for the controller and the rest of the stickers for the drone, and the third had two more battery decals.
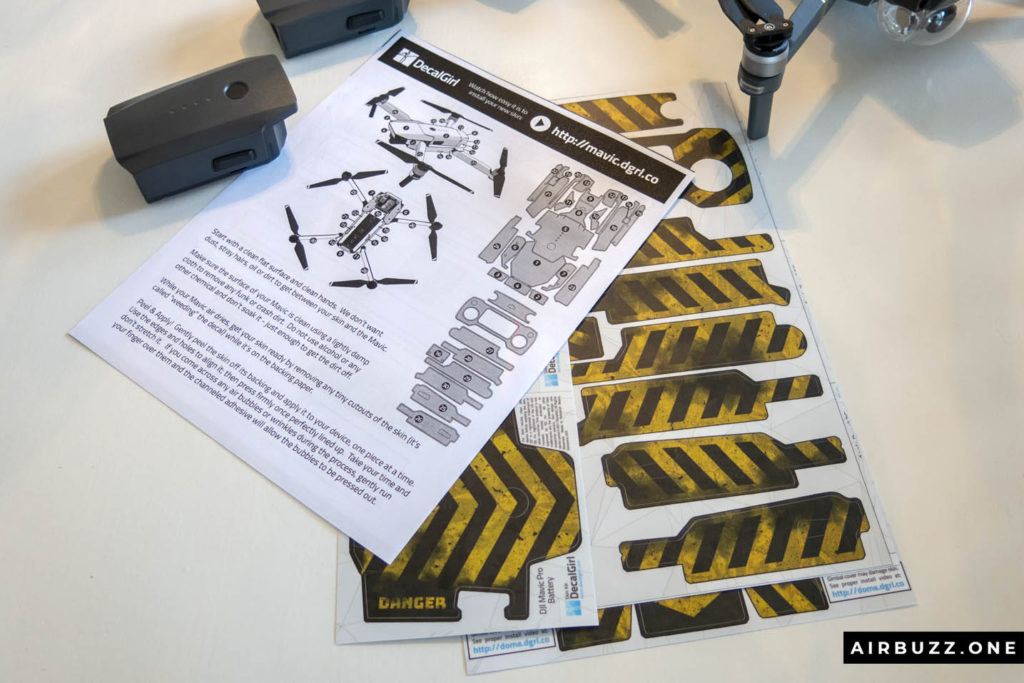
The nice instructions clearly told me to wash my hands and take a wet cloth and wipe over the drone and batteries to clean it and remove dust, hair and other remnants. So I did. It also told me to pee of the excess parts of the decals while I waited for the Mavic to dry.
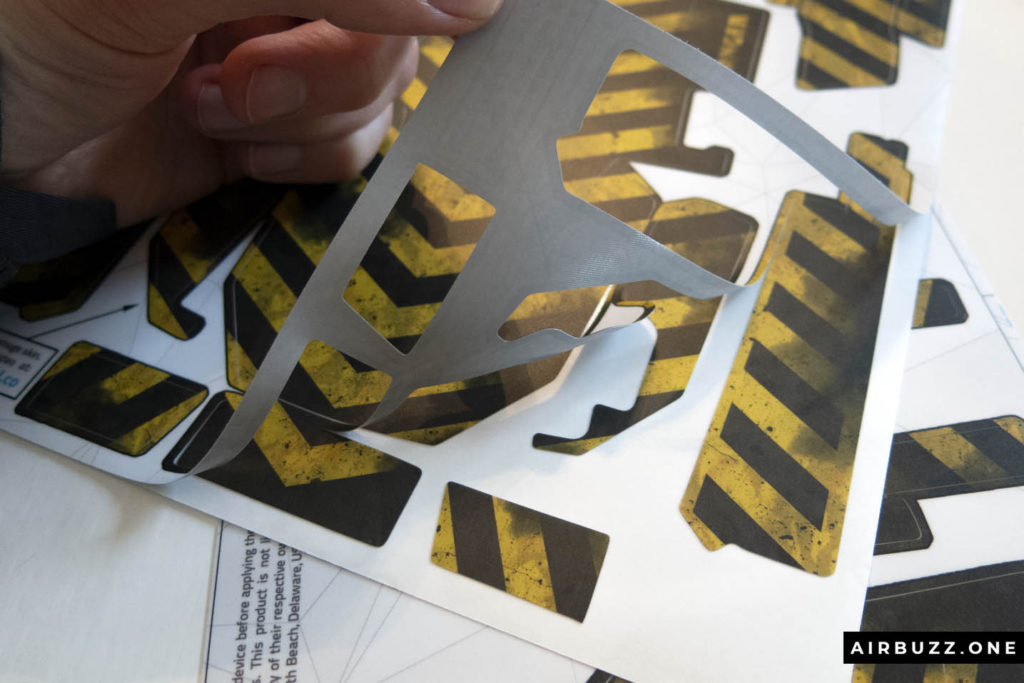
I learned that this procedure is called weeding. It was super easy to remove the in-between parts, and it makes it a lot easier to peel of the actual sticker parts. I started applying the battery stickers first to get a feeling on how to do it.
The trick is to use time, don’t rush, and align the sticker towards edges, screws, lights, buttons and other logical things. I found that the hardest part was the creases when the decal needed to bend over corners. I had a few troubles, but it eventually sorted itself out. I removed a couple of air bubbles and made sure that the stickers were firmly placed by rubbing the parts.
Below you can see the finished product… All my three batteries, the aircraft, and the remote controller now have a cool shade of dirty orange and black stripes. The sturdy drone skins are very lightweight and don’t add any extra weight to the drone. They will not add any effects at all on the flying or the battery time.
On Decalgirl.com they say that the range is unaffected, it doesn’t interfere with the radio signal, that the skins are easy to apply and that they are made in the USA. I guess they are right about those statements.
I anticipate that I will remove the decals somewhere in the future when I get tired of it. The good part is that they are very easy to remove and don’t leave any goo or glue. There is simply no sticky residue when removed.
Time to test it outside.
Hey, what has happened to the propellers, you might ask…
I put on some yellow propellers for the photoshoot. These are bought from Banggood, and is unofficial so I will be careful with flying on longer trips with them. They probably work well, but I’m always a little bit extra cautious with unofficial parts as crucial components as the props.
But appearance is pretty good, don’t you think? Conclusion and where to buy below the next pictures.

The quad looks great with its new colors.

DJI Mavic Pro with new skin and yellow props ready for take-off

Evac Mavic going in for landing
Conclusion
Applying these decals is a cool way of getting a more individual drone and some of them offer better visibility in the air. My tests indicate that they don’t interfere with the flying in any way. I haven’t tested if the range is affected, but it should since the antennas are not covered in any way. They even stick on in rain… I do not recommend flying in rain, but during one of my test trips it started to rain and the stickers and drone survived.
They are easy to apply when you take your time and don’t rush. Corners and bends are a little bit difficult, but start from one point and adding the stickers from the middle and press them carefully in place outwards.
I don’t the skins will not last for an eternity and is mostly an extra addon made just for fun. You can always buy new ones when you are tired of the first skin. Also, check out my articles of cool gadgets and accessories for the first Mavic Pro (shown in this article) and the Mavic 2’s.
Where to buy skins for DJI Mavic Pro
Based on my own experiences, and review above, I recommend buying the Decalgirl skins for your drone on Amazon. Click on the image below for a direct link.

Just remember to buy the correct one that fits your exact quad. You can choose from DJI Mavic Pro, Mavic 2 Zoom, Mavic 2 Pro, Air, Spark and many more.
Instruction video
Here is an instruction video that shows you how easy it is to apply the decals, and what to look out for.
Thanks for reading my Decalgirl skin review! Leave a comment below if you have further questions, concerns or write about your own experience.

10 Comments
My son is a tech freak and he does loves to get the best of the latest technological advancements and releases. I just got the DJI mavic 2 for him. Though I was forced too but now that I have read this post, I feel like I should get the pro skin decalgirl too. Going by the pictures I’ve seen, it looks very cool and distinct and this would help him identify his freely when playing with friends. I like this post and descriptions. Thanks
Cool! Thanks for the comment.
Hey there!
I must say you have written an excellent article. I have a drone. But it’s not so much expensive and nowadays it does not look so nice. I always think about how can I give a nice look in my drone. But you solved my problems. I’ve no idea about the Mavic Pro skin. But now I’m going to try this. And I ordered it from the Amazon. I’m so excited about that.
I suggest to everyone to try this Movic Pro skin. It’s not disappointing you sure. I’m gonna share this post with my friends. I’m quite sure they will become and check your post. Again thanks for this nice article.
Thanks for the comment Pronay. Hope you will be satisfied with the skin. Andreas
Hi, Friend I have read your entire article very carefully. I am very happy to read your article because the flying drone learned from here. I love to Manage drones too. We have learned many important topics on Drone from your article. Your drone’s color is very nice to look very nice. Thank you very much for sharing such a drone-related article.
Thanks a lot. 🙂
Congratulations for the “new look” of your toy. I like the design especially that look wherein the colors look faded and worn out. It comes natural, you won’t suspect it’s just a decal. I’m also interested in changing the decal of mine, but I’d like to try two different styles. First, one that’s like yours and the second, a military color probably a camouflage style like you see in the army. I never thought of changing mine until I saw yours here. Good creativity, and thanks, you aroused my interest in trying other designs.
Go for it! Camouflage style is also really cool. I’m sure you will find something you like in the Decalgirl shop. Andreas
Hi Andreas.
Thank you for sharing such an amazing article. Your article was really very helpful. After reading this article now I know how to upgrade my good old DJI Mavic Pro with drone skins. You described nicely how to use the skins for DJI Mavic Pro and why I should use this. You also mentioned where I can get these drone skin.
Thank you so much for sharing this amazing article and I will share your article to my friends.
Thanks for the comment Monalisha! Glad it was helpful.